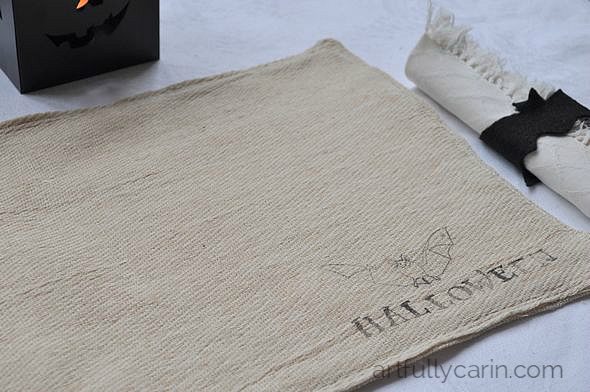
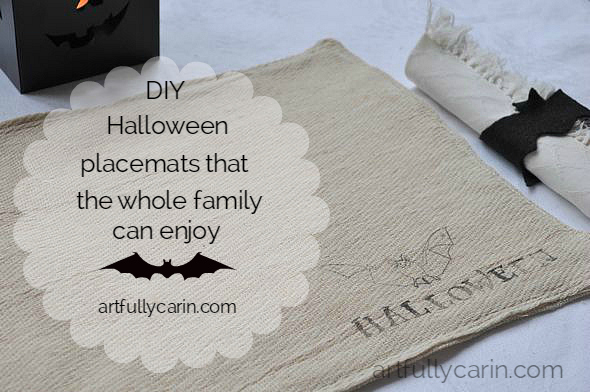
Did you see the Halloween placemats I made for the kids table the other week? This week I’m back with a quick tutorial for some DIY Halloween placemats that can be enjoyed by the grown ups too. And they’re really easy to make…when you know how.
Confession time. I messed up big time on these the first time I made them (which is why I’m coming to you a day late). I tried to make them using stencils and fabric paint and it was a right mess. Blobs everywhere! But I don’t give up very easily, so here is a better way of doing them:
Supplies:
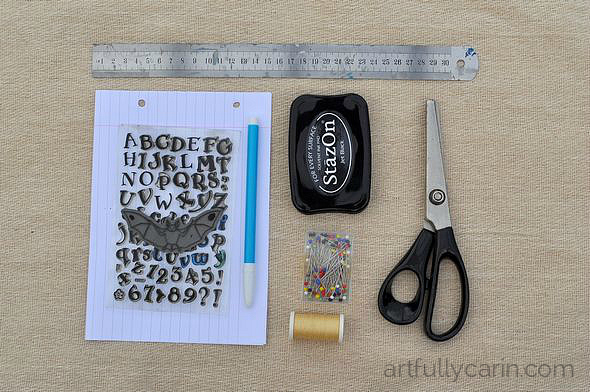
* 1 dust sheet
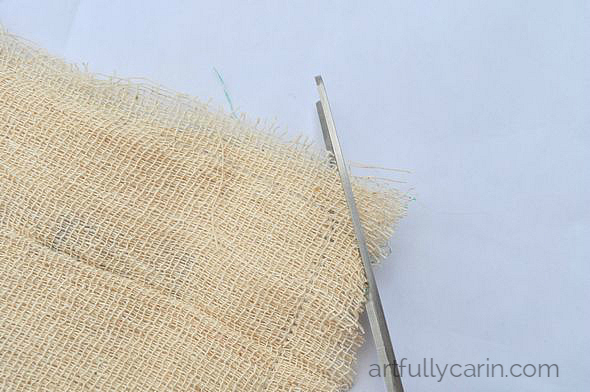
* pinking shears
* matching thread
* black thread (optional)
* sewing machine
* pins
* black ink
* letter stamps
* bat stamp
* scrap paper
Instructions:
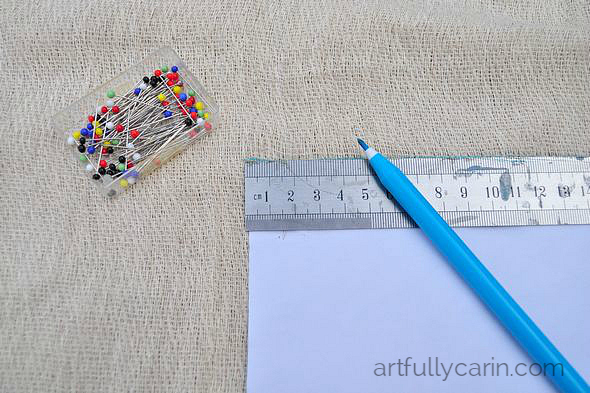
1. Mark your dust sheet into 41 cm x 31 cm rectangles and cut out using your pinking shears. You’ll need two per placemat. I pinned two pieces of the dust sheet together so that I could cut them out at the same time.
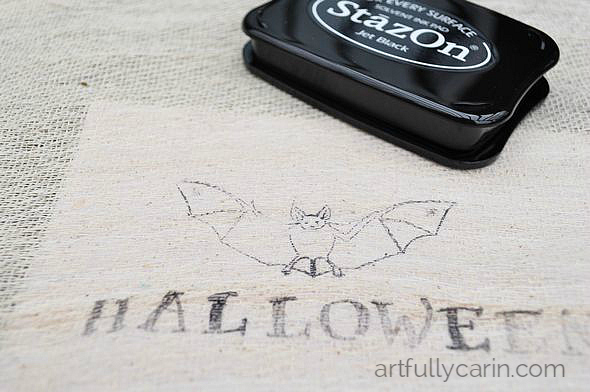
2.Place a piece of scrap paper under one of the pieces of dust sheet and stamp on your Halloween messages and bats, making sure you leave enough space for a seam allowance.

3. Line up the edges and pin the two pieces together, right sides together. There’s no right sides on a dust sheet, but since you’ve stamped on one side, that’ll be your right side. Straight stitch right around the edges in your matching thread, leaving a 10 cm gap at the bottom.
4. Cut off the corners at an angle, then turn the placemat right side out. Press.
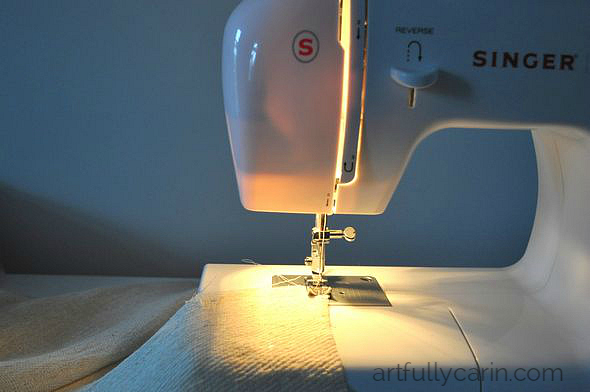
5. Using either the same thread as before, or the black thread, stitch all the way around the edge, making sure you don’t cut off the message. You can use straight, zig zag or decorative stitch for this.
6. Use and enjoy! I’m teaming mine with napkin rings made from spare bats from the bat garland. I wrapped the bat around my napkin, lined up the two holes, and pushed a paper fastener through them both. Simple but effective!
That’s it! And believe me, it is so much easier with stamps and ink!
Have you ever had any craft fails? Do tell!
Super quick post today, but will be back tomorrow with a post on why crafting is good for us.

Your finished result is really cute. I’ve had plenty of crafting fails, the most recent when I was making some stained glass bats and made them too fiddly and ripped off the wings by mistake!
Oh no!!! And now I really want to see them, because stained glass bats sound awesome! What a fantastic idea. xx
These are fantastic Carin! Stencils can be such a mess, but these have worked perfectly.
We are cut from the same cloth…or should I say dust sheet! i use them for cheap off white fabric too.
It is very handy. It’s a shame the English “dust sheet” doesn’t sound as nice as the American “drop cloth”, because it’s very handy! xx
By the way, I use freezer paper when I want to make templates…. Have you used it before? it creates a really good iron on seal so you can paint right over the edge. I have used it quite a few times over on the blog. If you search freezer paper in my search button you can see it used in a few different guises. Di x
*adds freezer paper to Amazon basket* 🙂