I did a complete inventory of all my craft supplies when I did up my craft room back in the spring and found lots of things I hadn’t used in a very long time, or ever. One of those things was a packet of sticky back canvas sheets from Claudine Hellmuth that I bought to cover some journals years ago, but never did.
This time I saw a completely different use for them, and have had to wait patiently to use them ever since.
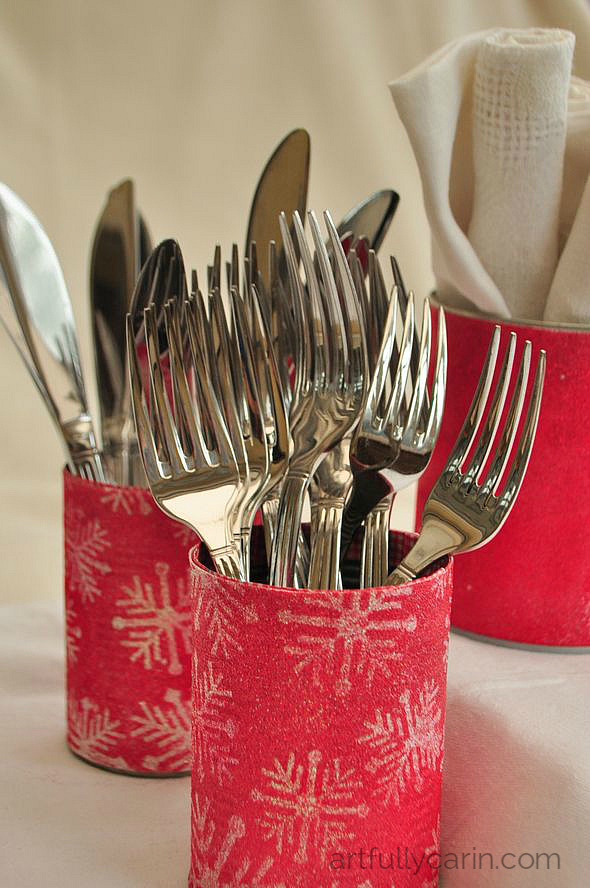
But here they are.
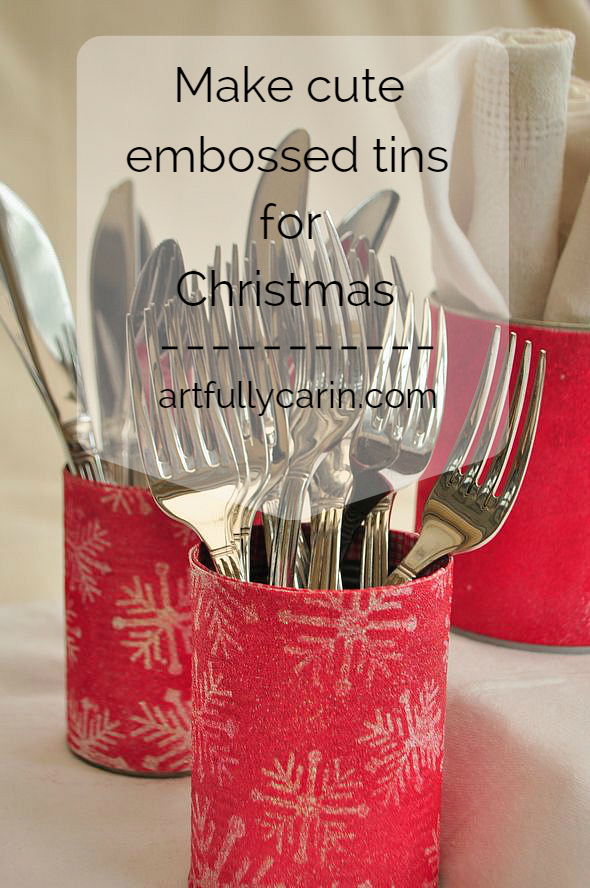
These sparkly embossed tins would make a great addition to a Christmas buffet table holding napkins and cutlery or a little flower arrangement. They’d make lovely containers for hostess and teachers’ gifts too. I didn’t spray paint mine on the inside since I know they will be covered up, but it may be something for you to consider, especially if you want to give them as hostess or teachers’ gifts.
Here’s how to make them.
Supplies:
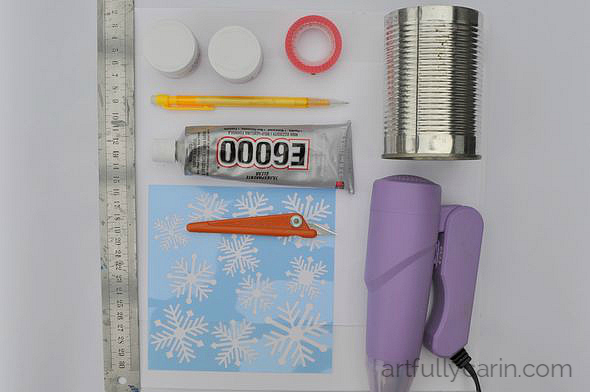
* Old tins (paper removed, cleaned and dried)
* Sticky back canvas
* Ruler
* Scissors or craft knife
* Stencil or mask (I used this Nordic Snowflakes one)
* Embossing powders
* Matching tape (optional) (mine was from Tiger Stores a while back)
* Scrap piece of printer paper
* Heat gun
* Strong glue (I used E6000, which was new to me and worked great)
Instructions:
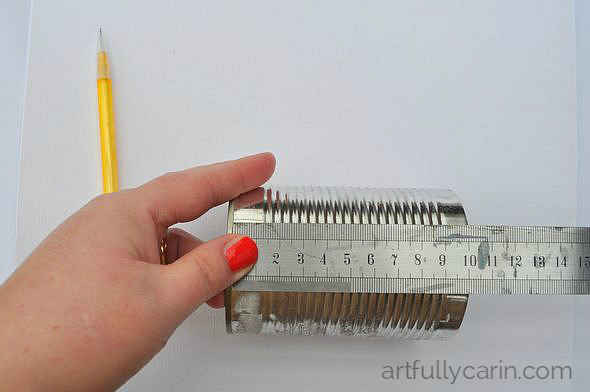
1. Measure the height of the tins. If they have rims at the top and/ or bottom measure between the two.
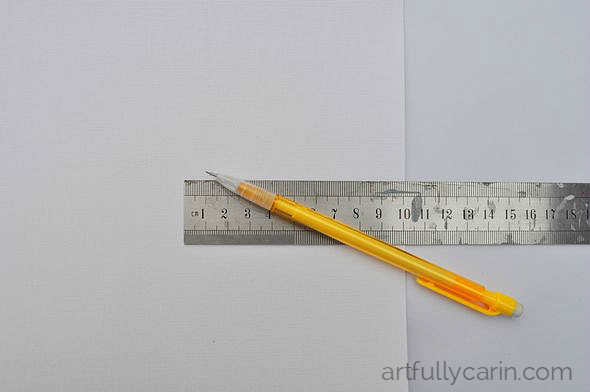
2. Measure out the height of the tin on the back of the sticky back canvas sheet and cut out carefully.
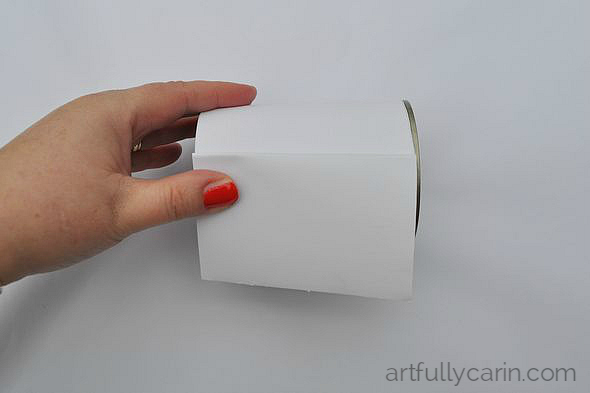
3. Lay the cut piece on the tin to check the size is okay. If the strip is too long, mark a 1 cm overlap. If it’s too short, make a patch that is the size of the gap + 2 cm.
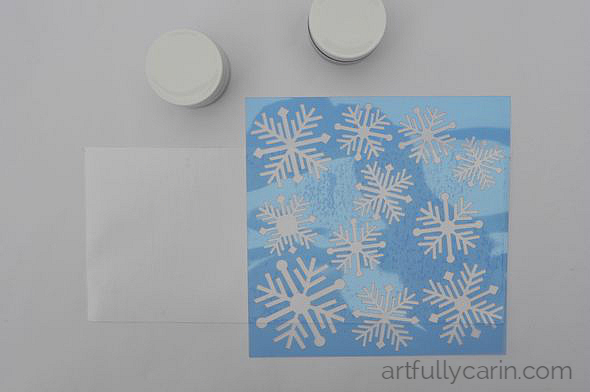
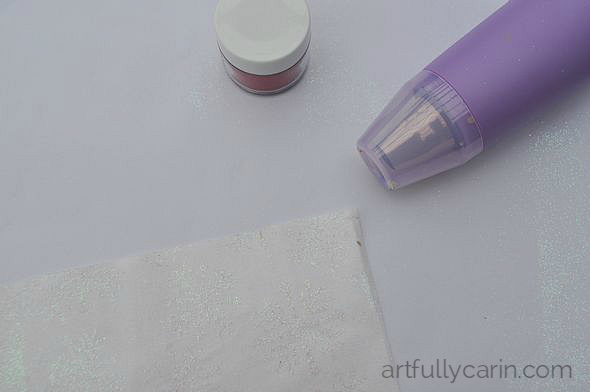
4. Peel off the backing paper on the canvas and place your stencil on top of the sticky side. If your stencil is small like mine it is best to only peel the backing paper far enough back to leave room for the stencil.
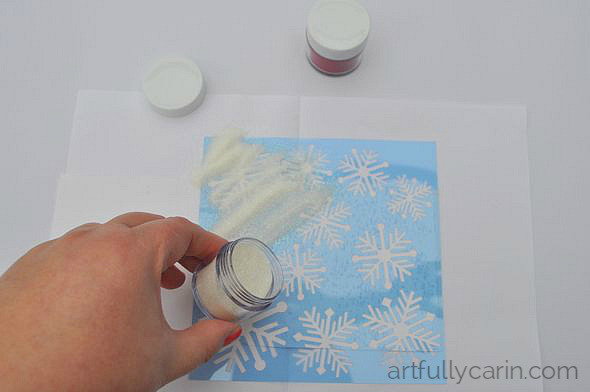
5. Put the canvas on top of a piece of printer paper that has been folded and re-opened. Pour embossing powder generously over the stencil, then tilt the canvas strip over your folded piece of paper and tap gently. Now pour the excess powder on your printer paper back into the jar.
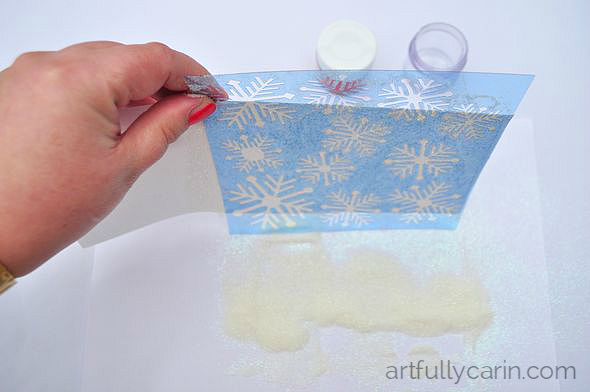
6. Remove the stencil and heat the powder gently with your heat gun. It is better to make a continuous sweeping motion, than directing the heat in the same place for too long. When done, the powder will change colour or sparkle depending on what type of embossing powder you use. Leave to cool for a few minutes.
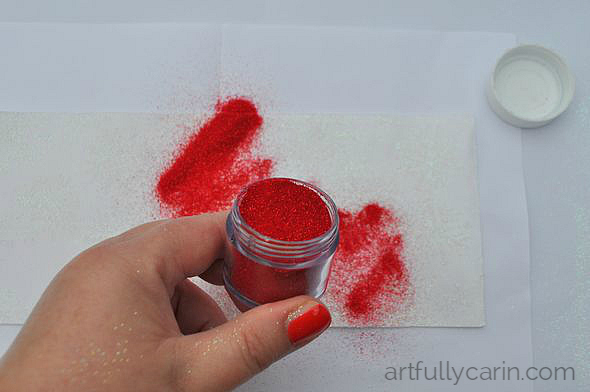
7. Now pour on your second colour and repeat embossing procedure.
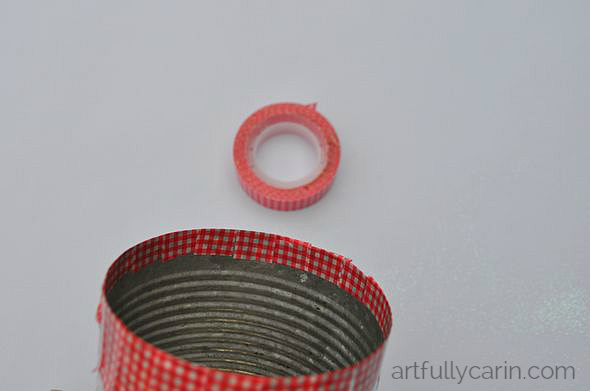
8. Optional: Cover any sharp edges with 3 cm strips of matching tape.
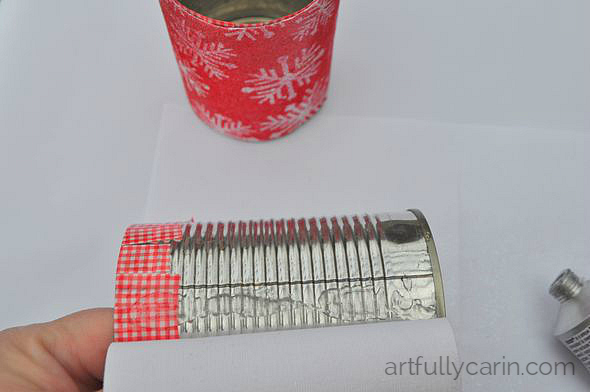
9. Apply a strip of your strong glue vertically on the tin and add your embossed canvas, lining up the edges. Use your thumbs to move the canvas along and squish down the glue as you go. Add glue strips at regular intervals (I did roughly every 2.5-3 cm). Leave to dry.
That’s it!
I made these to fit in with our handmade red and white Scandi Christmas theme, but I made a few strips in gold and silver too to test them out and they worked really well, so this will work for you whatever your theme.
Do you stick to a colour scheme or do you change from year to year?
If you like this craft, please pin it for future reference and so others can find it too.

This is so cute Carin. I love embossing powders, they never cease to make me smile as they heat up and work their magic 🙂 x
I love them too. They are magic :)! xx
Brilliant! Brilliant!! I LOVE this idea – and as always, your tutorials are so well written, beautifully photographed and concise. Bravo, xoxo!