Hey lovelies,
Thanks for your lovely comments on my a day in my life post! You cracked me up with your comments on me getting up so early.
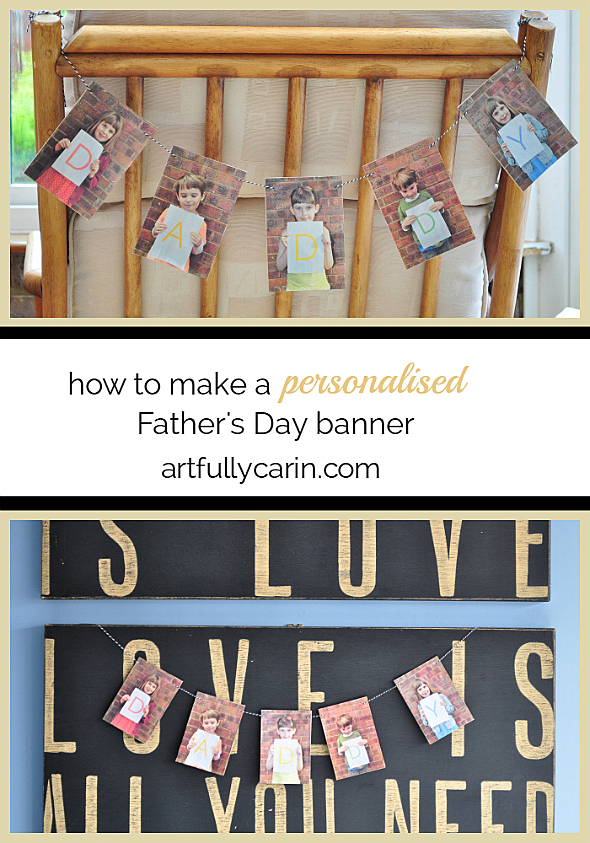
Today I’m back with another tutorial.
This Father’s Day banner is a great craft for families with kids of different ages since there is something everyone can do. If your kids are younger, this is more of an adult make, but they can still help out with things like spreading the glue and threading the twine through the banner.
It would look great hanging on the back of the bed, his favourite chair, or on the mantle.
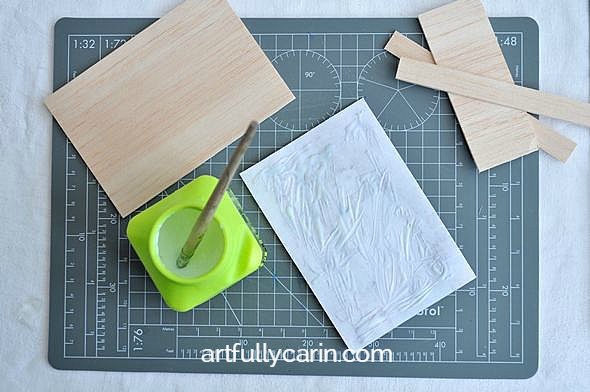
Supplies:
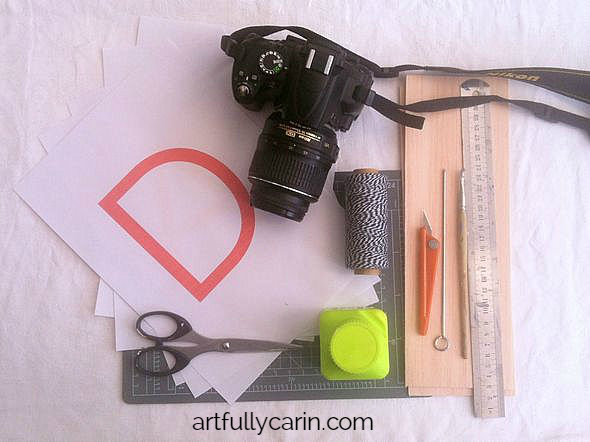
* 2-3 sheets balsa wood (I got a big pack of these 1.5 mm balsa wood sheets)
* letter print outs spelling dad, daddy, father or whatever else you may call him
* mod podge or decoupage glue
* old brush to spread the glue
* cutting mat
* craft knife
* scissors
* metal straight edge
* metal skewer or similar
* baker’s twine, ribbon, or yarn (I used Hemptique black and white)
* camera
* willing children
* printer & paper
Instructions
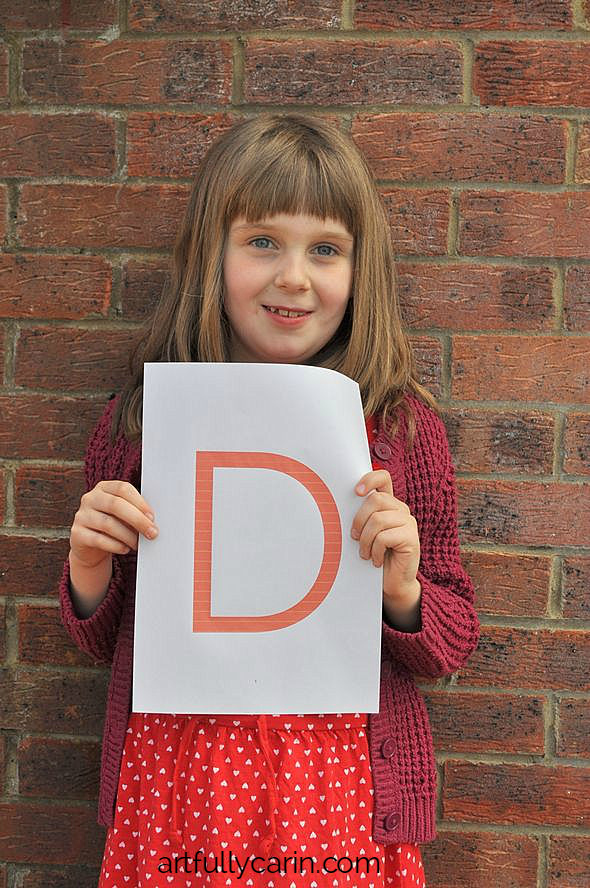
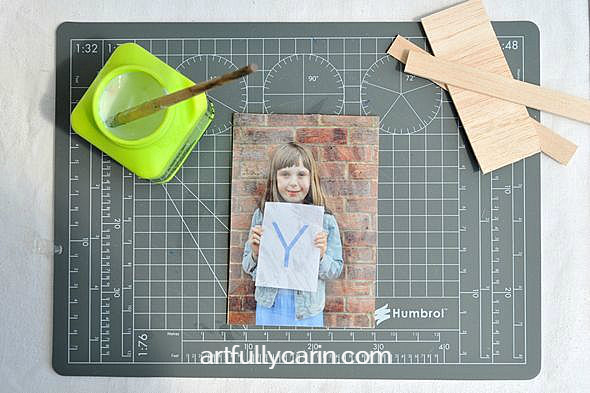
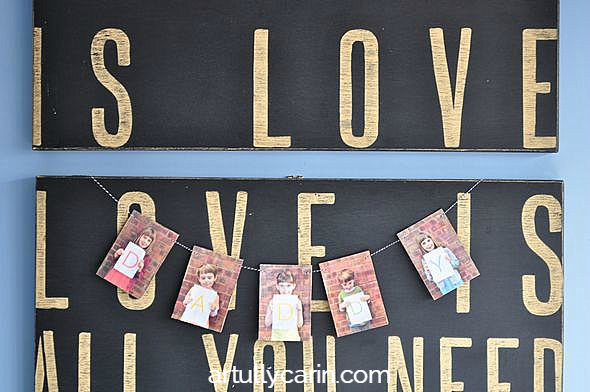
1. Take pictures of your kids holding the letters. I printed out mine in rainbow colours and had the kids dress up in the same colours as the letters, but you don’t have to go to that extreme if you don’t want to. It would look just as good using black and white photos. Make sure there is some space above your child’s head in each photo.
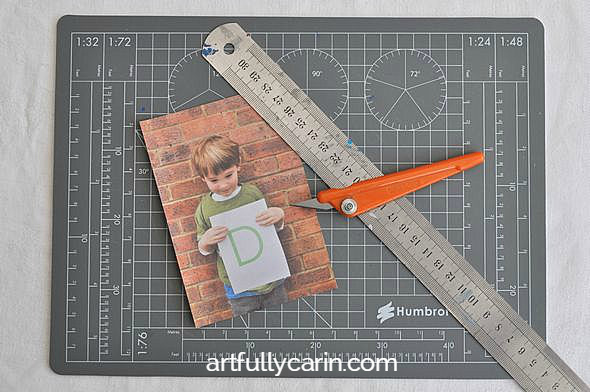
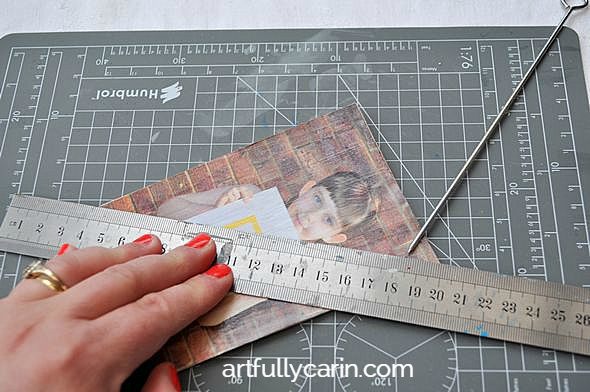
2. Print out the photos as 9 x 13 cm, which should give you 4 photos/ page. Lay the photos on the cutting mat. Line up the side of the metal straight edge with the sides, top and bottom of the photos, and carefully cut out using your craft knife. Use a sharp blade and long, smooth strokes for best result.
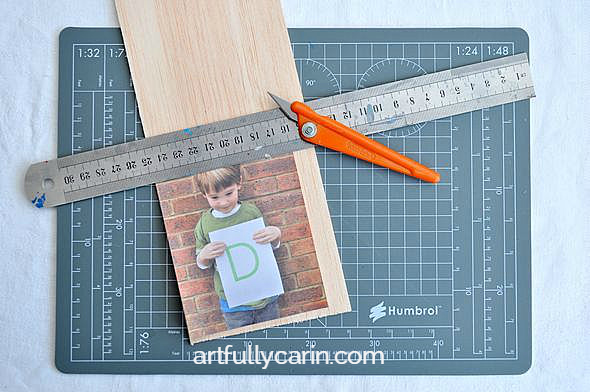
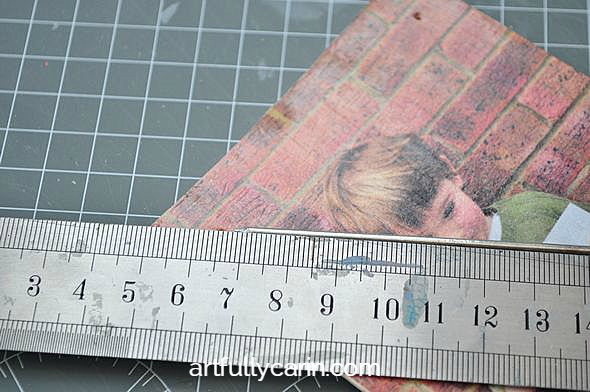
3. For a perfect fit, place the photos on the balsa wood one by one near the end of the sheet of wood. Line up the side of the photo with the straight side of the balsa wood, then carefully lay the metal straight edge on top of the photo and line up the side of the straight edge with the top of the photo. Score the wood gently several times until the knife goes through. Repeat with the side and bottom of the photo.
4. Spread a thin layer of decoupage glue on the back of the photo, then carefully lay it on the balsa wood tile you’ve just cut out. When you’re happy you’ve lined up all the edges, carefully smooth out the paper with the side of your hand going from from the middle towards the edges. Leave to dry. Repeat step 3 and 4 until you’ve done all the tiles.
5. Using long, smooth strokes, spread a layer of decoupage glue on top of the photo. Leave to dry.
6. Place the straight edge diagonally across your picture from the top right hand corner to the left bottom corner. Mark 1.5 cm with the metal skewer. Repeat from left to right. Remove the metal straight edge, and carefully force the skewer through the wood where you marked it, then twist the skewer a few times to make the hole larger.
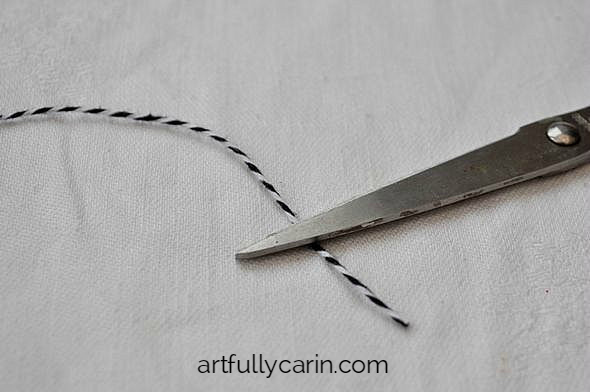
7. Cut the twine to your desired length. This depends on what word you’ve chosen. I used 2 metres for my banner, which says “daddy”. If you’re unsure how long you should make yours, lay the tiles on a large flat surface at the rough distance you’d like them. Lay the twine on top and add about a metre. That should be plenty.

8. Starting with your first letter, push the twine through the left hole from front to back. Gently pull the twine until there’s a half metre tail left.
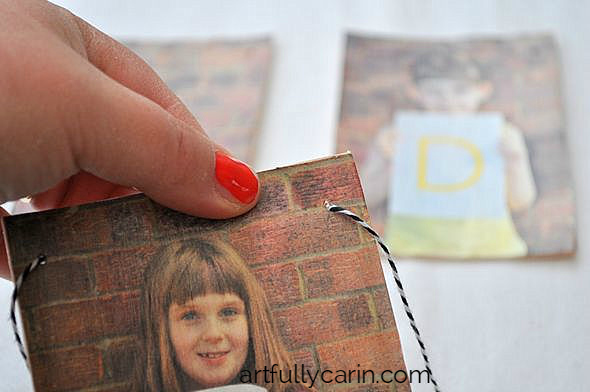
9. Pull the twine through the back of the hole on right hand side. Keep pulling until you’ve used up all the twine at the back. You may want to put your thumb over the hole on the left hand side when you get towards the end, so you don’t end up pulling the whole thing through.
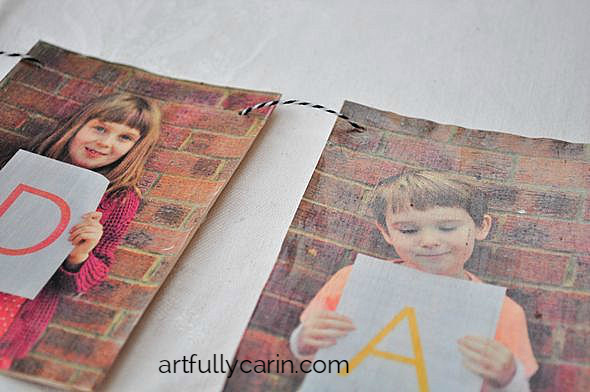
10. Pick up your second tile and repeat the process until you’ve threaded the entire word on the twine.
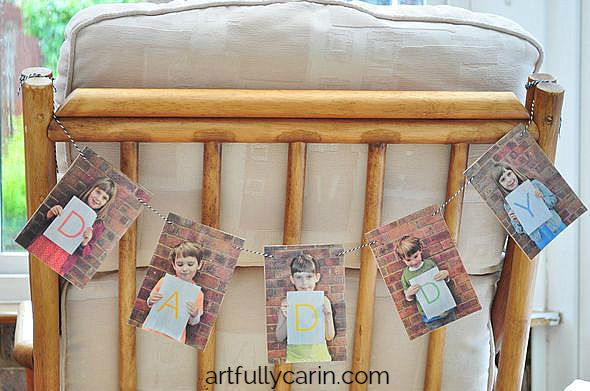
11. Hang and enjoy!
I happened to make this for Father’s day, but it’s easy enough to make for a lot of holidays. The kids dressed up in Christmas jumpers holding up the word Christmas? Too cute! Grandma’s special birthday? Bring it on!
What would you do? Colours or black and white?

I love that you have used photos of the kids holding letters rather than the letter themselves, it is so original.
I’ve just ordered some chalkboard cloth to make some bunting too!
Ooh, chalkboard bunting, I like the sound of that! Will keep an eye out on Instagram for it! xx