Hey lovelies,
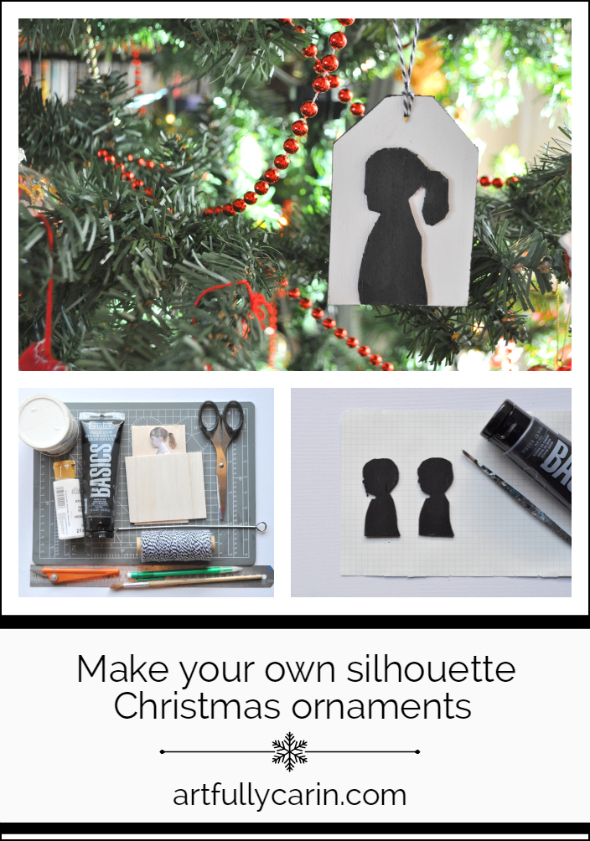
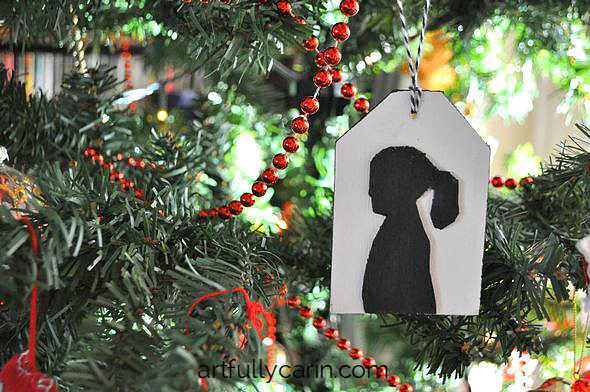
Sorry it’s been a bit quiet around here lately. But I’m back today with a lovely little memory-keeping craft for the holidays- silhouette Christmas ornaments.
Do you like silhouettes? I love them. I always have and always will. They’re so simple, but say so much. I use them a lot in my art journals for that very reason. Earlier in the week, I realised they would make lovely ornaments too. I made one of the kids yesterday, and plan to make a new one every year. They don’t take long make. I can’t wait to see what it looks like when I have several years worth.
Here’s how you can make your own silhouette Christmas ornaments.
Materials:
2 pieces of balsa wood measuring 6 x 9 cm
wallet size photo, in profile
scissors
pencil
craft knife
adhesive (I used gel medium)
awl or metal skewer
paint brush
white paint
black paint
30 cm ribbon or bakers twine
Instructions:
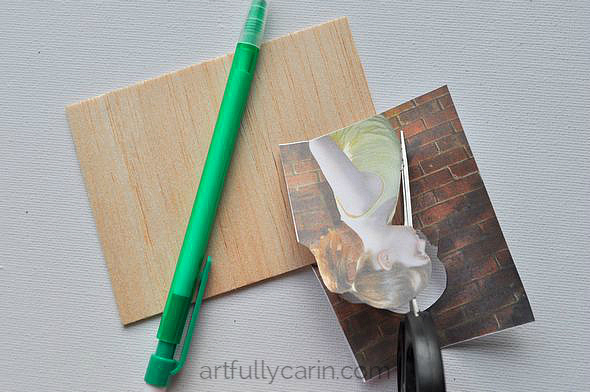
1. Carefully cut out the profile pictures, leaving as much detail as possible.
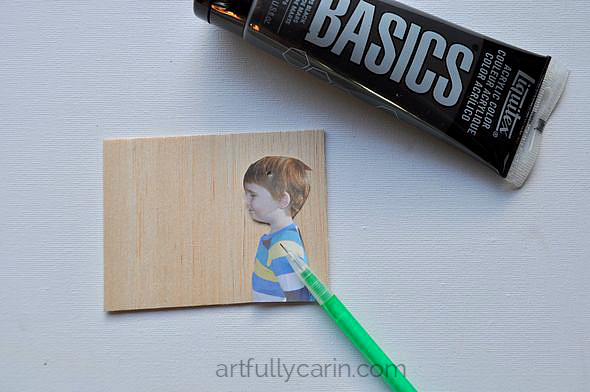
2. Place the picture on top of the piece of the balsa, lining up the bottom edges, and draw around the outline. If you want a double sided ornament, draw two.

3. Remove picture and gently score the outline with your craft knife over and over until you’ve cut right the way through.
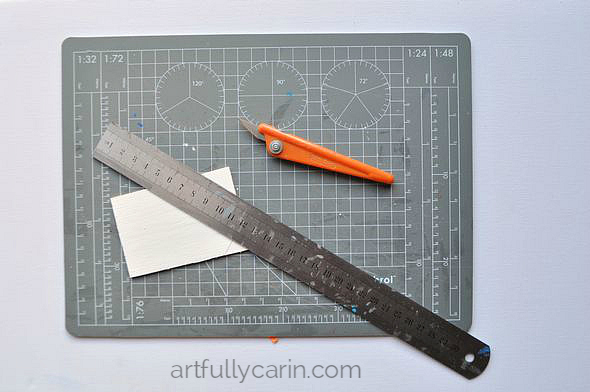
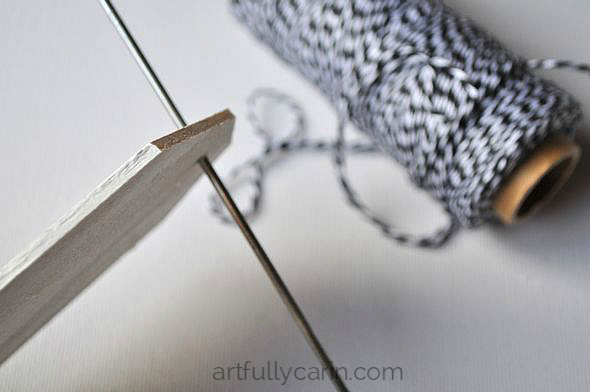
4. Make a tag shape from your other piece of balsa wood. Mark 2 cm in and 2 cm down from the top of your rectangle. Join the lines. Cut out.
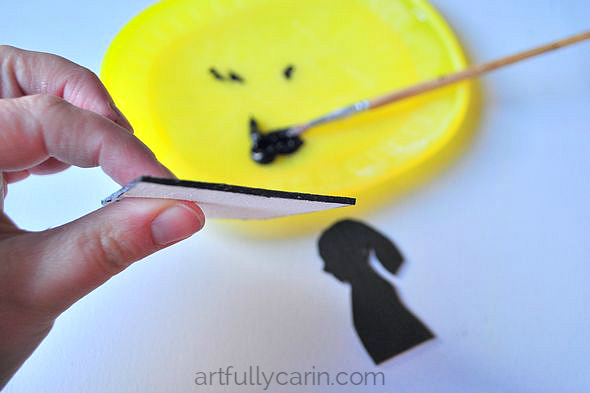
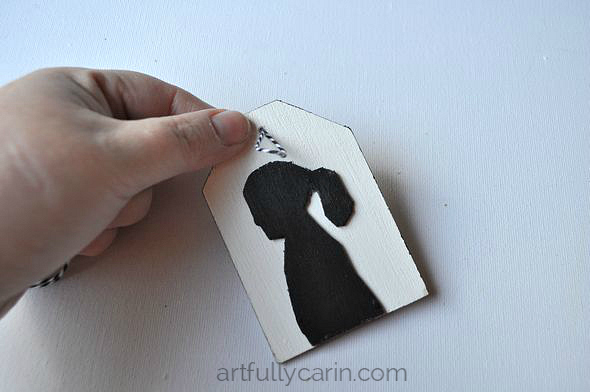
5. Paint the tag shape white and the silhouette black. Paint the edges of the tag black. Leave to dry. Then glue the silhouette to the bottom of the tag.
Tip: If you’re worried about painting the edges black, you could pat them down with a black ink pad.
6. Mark 3 cm in and 1 cm down at the top of your tag. Gently make a hole with your awl or metal skewer, then twist it around a little to make the hole larger.
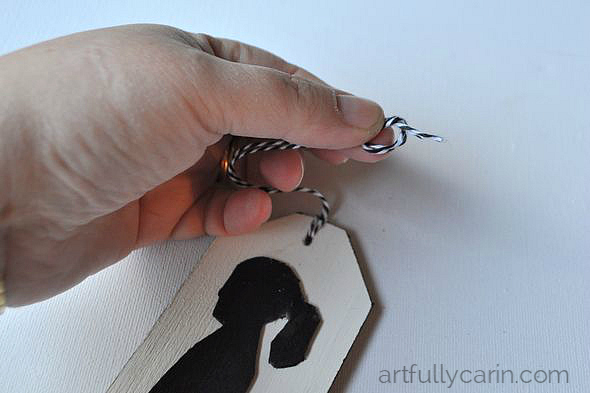
8. Fold your twine or ribbon in half. Twist the fold a little to make a sharp edge and push through the hole from the back. Open up the loop and pull the two tails through. Pull tight. Tie the two ends together with a knot to create a loop for hanging.
9. Hang and enjoy!
I put Aoife on one side of the ornament and Kirby on the other, so I’d have a nice little reminder of what they both looked like in the same year, but the beauty of these ornaments is that they can be easily adapted to your circumstances. You can make them wider and longer for more children, choose whatever colour scheme you want, or cover the back in paint or paper.
If you make one, I’d love to see. Show me a picture on Facebook. Just leave me a comment.

Speak Your Mind