One of the things I love about crafting my own holiday decorations is that I can make them exactly what I need them to be. This is especially true at Halloween.
Right now we’re definitely in a cutesy phase. The kids are young and we’re not really into scary stuff, so I make things suitable for them. I sometimes dream of when I can decorate with more understated pieces, but then I’d miss out on their excitement, so this is the way to go for now.
This week I made a super quick bat garland in felt. I’ll share the tutorial in a minute, but first a quick note:
I had lots of A4 (8.5″ x 11″) sheets of thin black craft felt at home, so that’s what I based my tutorial on, but this is an ideal craft for larger sheets or rolls of felt since there will be less waste, so it’s totally up to you what you use.
If you do use A4 sheets like I have, don’t throw out all the scraps. Especially not the larger ones. They are really useful for smaller crafts. And I have something up my sleeve for closer to Christmas that you may want to use them for! I store my scraps in clear plastic wallets so I can quickly grab the colour felt I need, but envelopes would do too.
Anyway, here’s how you can make your own bat garland.
Tools and materials:
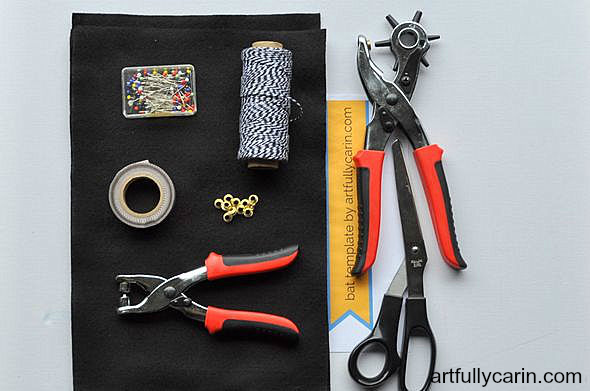
* bat template
* paper scissors
* 3 A4 black felt sheets
* pins
* fabric scissors
* hole punch
* eyelets (optional)
* eyelet tool (optional)
* roll of tape (optional)
* 2 metres twine or ribbon
Tip: Thin craft felt gives the garland the illusion the bats are flying. If you prefer the bats a bit stiffer, use wool felt.
Instructions:
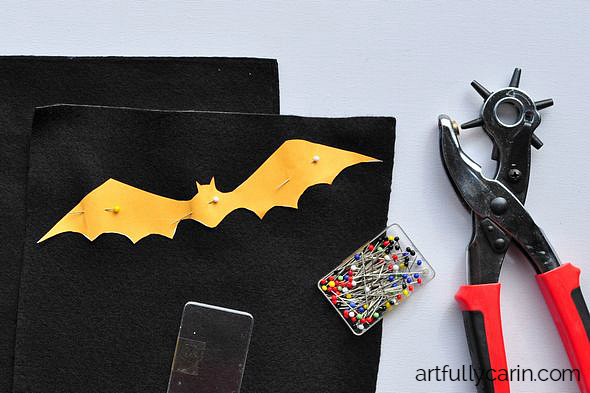
1. Print the bat template here, and cut out.
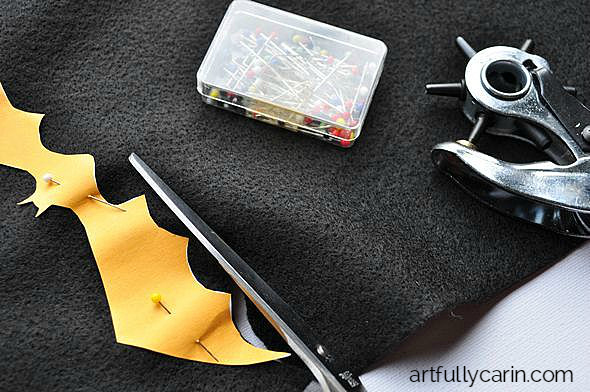
2. Pin the template to your felt in 2-3 places.
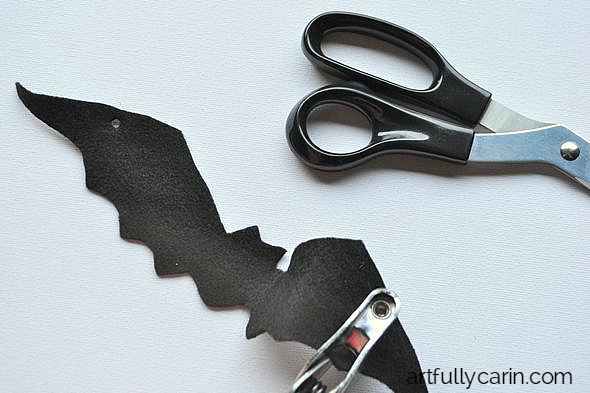
3. Carefully cut out the bat shape. Remove paper template.
4. Pin the template to the felt again and use as before until you have 6 or more bats. Or use the first bat as your template. This is my preferred method- I find it easier to follow, but you have to be extra careful you don’t cut into the first felt bat.
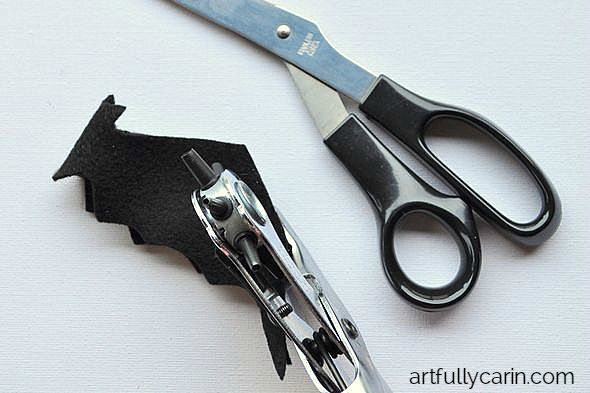
5. Look over the bats and tidy up any edges that may need doing. They don’t need to match exactly.
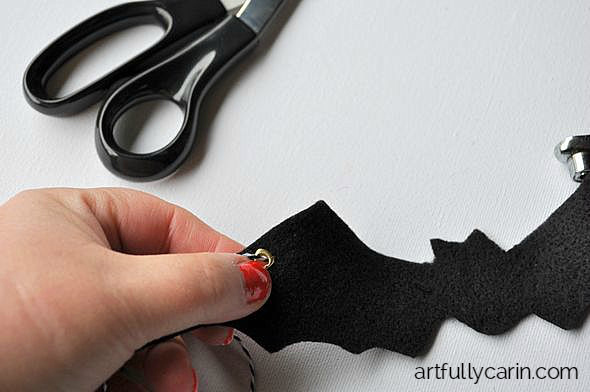
6. Punch hole just inside the edge of the wing, about half way down.
7. Optional: Attach eyelets.
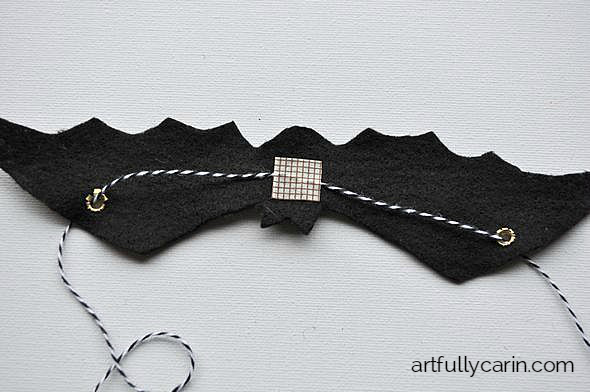
8. String the twine or ribbon through all the bats, coming in through the front of the left hole, running it along the back, and coming out from the back on the right hand side.
9. Adjust the bats on the twine so there are equal lengths either side for hanging. Then add a small piece of tape to the back of the bats to keep them in place. I prefer this to gluing them in place in case I ever want to make the garland longer or shorter.
10. Hang and enjoy! I hung this one up in Kirby’s room, but it would look awesome on a window too, especially at dusk.
And there you have it, one easy bat garland. I didn’t time myself doing it, but it could easily be done in an hour if you have all the supplies to hand. The cutting out of the bats take the longest, so if you’re short on time I suggest doing that one day and the rest another.
Where will you hang yours?
Before you go, please pin this craft so others can find it too.
Linking up with That DIY Party and Crafty October.



I love these Carin. I’ve been looking for something to do for Halloween. I may cheat and download your pattern into my cricut so I can avoid all the cutting! x
Good idea Louisa! I must get myself one of those! I still haven’t got one. xx
This is exactly why I often make my own decorations – I get exactly what I want! A fab use of felt, and like Louisa said, using the Cricut would make the cutting sooo much easier! Thanks for sharing on #CraftyOctober xx
It’s on my wishlist! Hopefully Santa is good this year 😉
I love this…
(hit return too soon) It seems like this would be fun to do for all the holidays!!
Yes! It would work for lots of things.