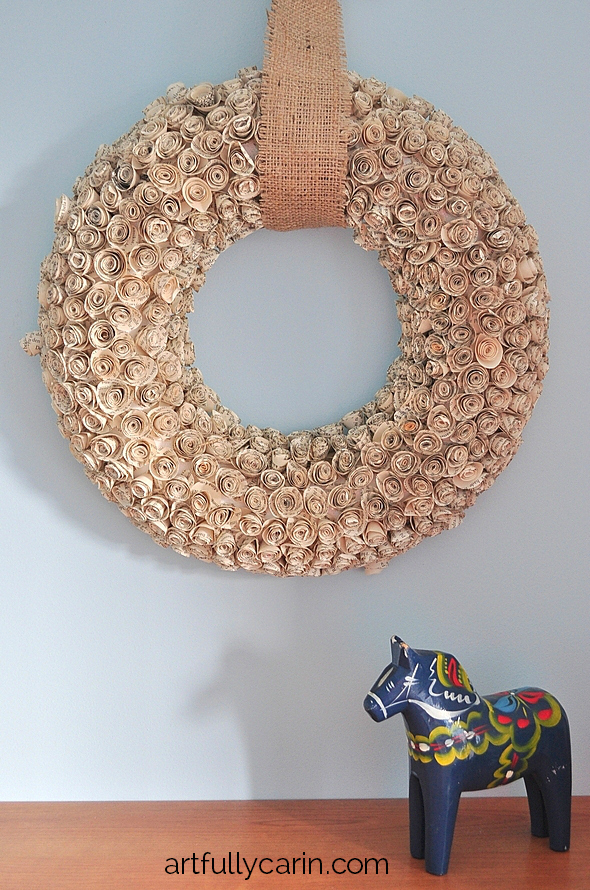
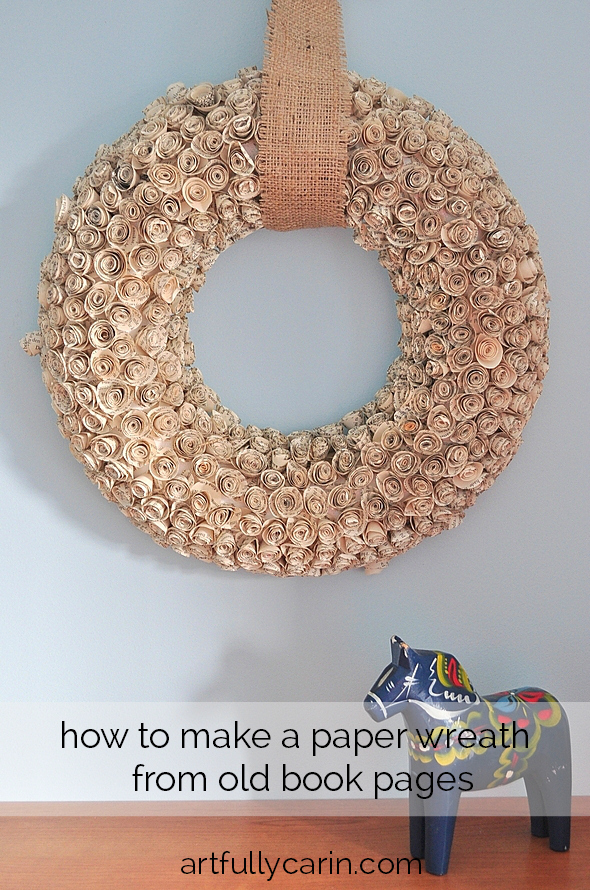
I have been itching to make a paper wreath for my new craft room/ studio for such a long time, I think they’re so beautiful and they really appeal to my love of texture and detail, and over the last few days I finally had the chance to make one. I LOVE how it turned out! I just want to stroke it every time I walk past, it’s so tactile. It also happens to be made from the Swedish translation of one of my favourite books, so that’s a bonus. I took pictures along the way in case you’d like to make one too.
Now, it’s got to be said… this is not an instant gratification kind of project. It’s ridiculously easy to make and really packs a punch when it’s done, but it does take a bit of time and patience.
My glue gun broke just after I started making the roses and it turned out to be a blessing in disguise. I got comfortable on the sofa and watched a couple of marathon sessions of Parenthood while I rolled the roses (I’m still only on season 3, so shhh!), and that was definitely the way to go. You may want to do something similar.
Here’s how you do it.
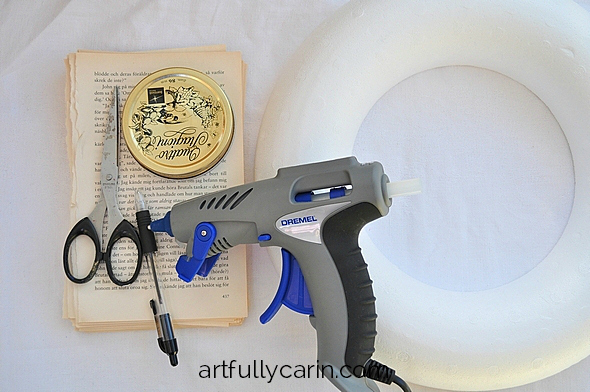
Supplies:
Jar lid or circular punch (mine was 8.5 cm/ 3.5″)
Pen (optional)
Old book pages
Scissors
Clear glue and brush or glue gun and glue sticks
Half rounded wreath form (mine was 35 cm/ 13 1/2″)
Instructions:
First make the paper roses.
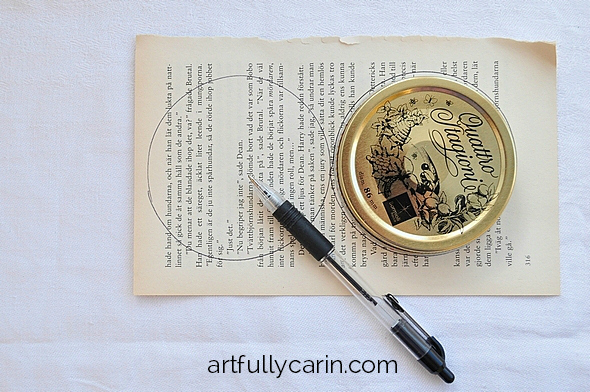
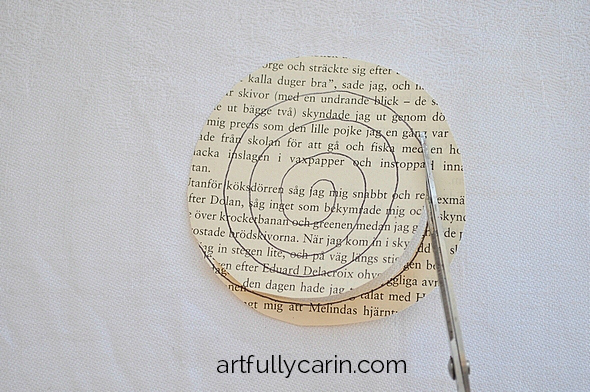
1. Put the jar lid on top of the book page and trace around the edge. Cut out the circle. Alternatively use the punch. If the pages are thin enough, pile them up and do a bunch of them at the same time.
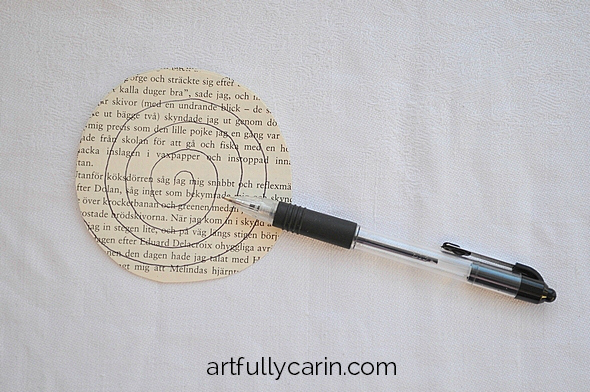
2. Optional: draw a spiral on your circle.
3. Cut the circle into a spiral. Cut from the outside in following the rounded shape of your circle. Leave a rounded bit at the end- that’s the base where your rose will sit.
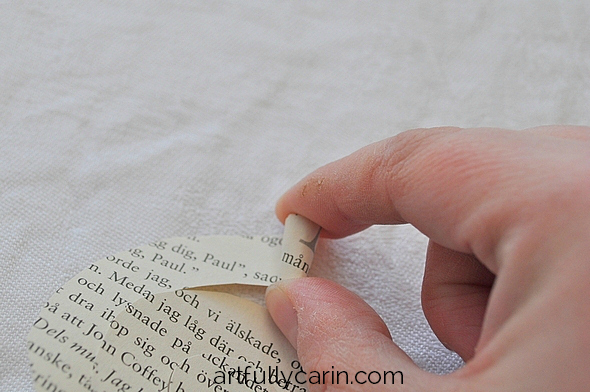
4. Fold over the outside bit of the spiral slightly and start rolling it towards the centre. Keep the inside edge of the spiral flush with your thumb as you roll. It needs to be somewhat even since this is the bit you’ll secure to the base. The top will flare a bit as you roll. That’s okay.
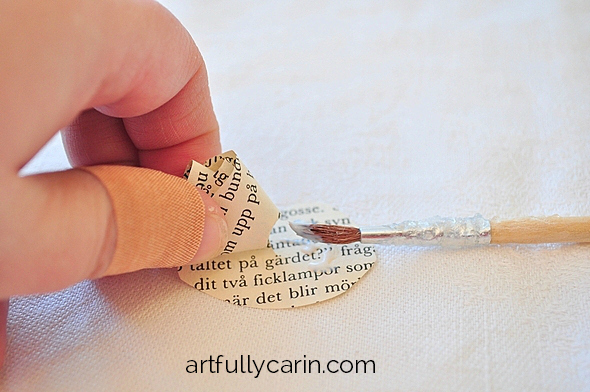
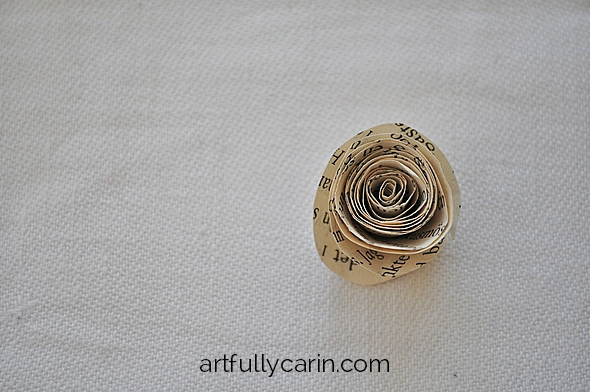
6. If you want a looser flower once it is rolled, hold it between your thumb and index finger and let it unravel a bit. I kept all of mine quite tight. Dab a bit of glue on the base and press against the rolled up bit until it has set.
7. Admire your work for a moment, then carry on rolling roses until you have enough to cover your wreath form (I used 337!)
Make the wreath.
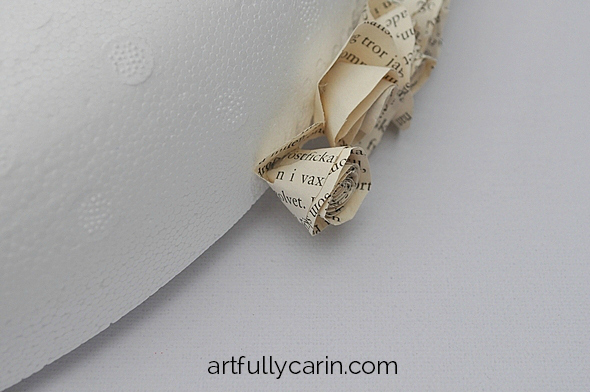
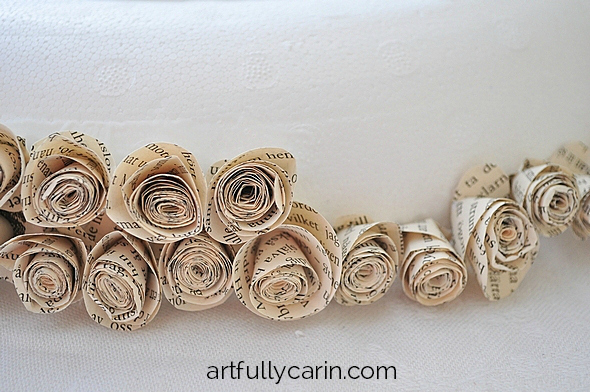
8. Apply a patch of glue along the outside edge of the wreath form and press your rose into it until set. Keep going until you’ve finished the row. Leave to dry.
9. Repeat with the next row and the rows after that until you have covered the entire front of the form. I tried to start each new row by adding the first rose in the gap between two roses above. Leave to dry.
I love it so much I’m thinking of making a photo frame with yellow roses for our 20th wedding anniversary this July, so keep an eye out on Instagram for that one. I’m sure to post it.
And if you like it too, I’d love for you to pin it. Thank you!

Wow, jättefint! Så effektfullt. Blir det dags för påskpyssel snart kanske? 🙂
Tack Anna! Ja, det ska det bli 🙂
Oh Carin, this is gorgeous. I adore it. I think I may have a die that cuts out the rose shape so I could cheat a little 😉 xx
Oh you lucky thing! That would definitely help! xx
I LOVE this! I can see how much time – and patience – it must have taken, but wow! what amazing results. It’s SO elegant! xoxo
Thank you sweet mama! xoxo
This looks amazing ! Tedious to work on but such lovely results!
Thanks Deb! Sometimes tedious work bear amazing results.
It looks so beautiful! I think it takes a lot of time, but the result is amazing. I’m bookmarking this page….I’ll give it a try during my vacation.
Thanks for sharing… 🙂
Excellent! Please share a picture with me if you do. If you’re on Facebook, maybe you can share it to my page so others can see it too? It’s https://www.facebook.com/artfullycarin