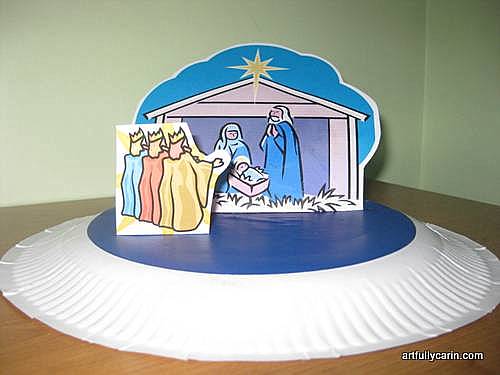
Going through the craft cupboard the other day to find something to satisfy Aoife’s demands to “make things now mummy, make things now”, I came across some paper plates picked up at various church cakes sales and some scraps of stiff paper. I decided we could make a nativity set for Aoife’s room. She does play with the ceramic one Alan and I have had since we first got married, although I have to admit the poor wise men’s heads have been chopped off and glued back on a few times over the last few years.
This nativity set was very easy for her to make, and she loved making it. And I like how easily adaptable it is for other celebrations too.
Would you like to make your own paper plate nativity? This is what you’ll need:
Supplies:
* A paper plate
*A piece of paper (or paint) to cover the bottom of the plate
* Nativity scrap art printed onto stiff paper or card.
* scissors and glue stick
Instructions:
1. On your piece of paper, trace around the bottom of the plate and cut out.
2. Turn the paper plate upside down and glue down the paper.
3. Cut out the scrap art as close to the picture as possible, leaving a 5-7 mm flap at the bottom of each picture
4. fold the flap back and glue down on plate
Have fun!
For more easy Christmas craft ideas, check out my archives.


Love this! So cute!