Hi, hope you had a lovely summer. Mine just flew by.
I spent a few early mornings last week editing and organising photos I took over the summer and was so glad I had a system in place. I could just launch in and get it done, then go out and enjoy my day (and take more pictures!).
As a creative mum and blogger I take tons of photos every day; of my family, creative projects in various stages of completion, and things that inspire me. Then I download them to the PC and panic! Taking hundreds of pictures is fun. Going through them- not so much! They quickly get out of hand.
A couple of years ago, I decided to get organised. The system I used back then wasn’t very good and always left me in a muddle. Taking the the time to work out how to best organise my photos really paid off.
If you’re in the same boat, here are some things that have worked for me.
Start where you are
It’s tempting to go back and start at the beginning, but the problem is you soon feel like you’re never going to catch up. It’s better to start where you are and enjoy the sense of accomplishment, then add in older ones as you go. Once you get used to it, adding a few extra photos each time will not take that much longer.
Sort and cull
1. Delete bad photos before they even leave your camera. You won’t believe what a difference it makes.
2. After downloading the images, add them to the right folder straight away. It’s much easier to sort them if they’re already divided into manageable chunks. If your program allows, transfer straight into the right album.
3. Cull, walk away, then cull again. Have you ever held onto 20 photos that are pretty much the same because you were too emotionally involved in the subject? Yeah, me too. Get rid of the bad ones, then give yourself a little bit of time and distance before tackling the rest.
Create folders and subfolders
I only keep 5-6 regular folders on the PC. They are the ones I use all the time. The rest are stored on an external hard drive. I’m sure your albums will be different to mine, but these are the ones I keep:
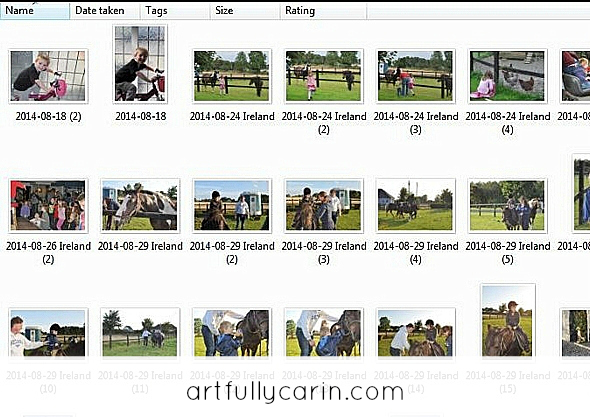
Personal photos: Family photos and every day life as it happens. The main folder is named after the year, with 12 subfolders named after the year and month (for example, “14-09 September”). This keeps them in order should they ever get mixed up with other years.
Creative projects: I have tried quite a few crafts over the years and still do many of them. Each type has its own subfolder. Some are fuller than others.
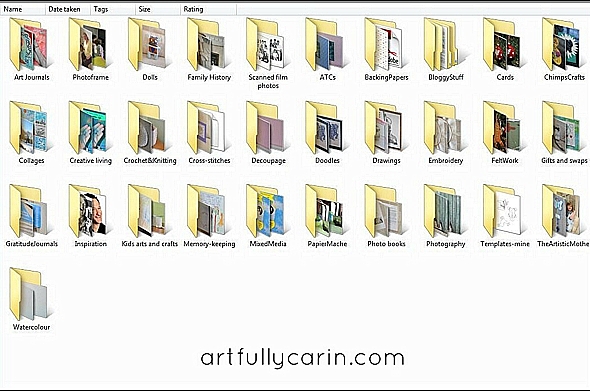
Home Sweet Home: I decided to separate pictures of our home from both the personal photos and creative projects. That works best for me. I take a lot of pictures of the changes we make to it. The subfolders are mostly named by room, with a few others thrown in for good measure.
Blog: These are photos that have been optimised for the web. They’re right size for Artfully Carin, have watermarks and other graphics (if needed). They’re organised by blog category.
Name photos
Personal, creative projects, and home sweet home photos: Over the years I have tried all kinds of fun things, but I have realised simplicity is best, so I name all pictures using the year-month-date system, which keeps them in chronological order. If we have done something special, I add the name of the event to the date so it stands out.
Since I cull personal photos several times, I don’t usually name them until early the next month.
Blog: I try to name photos after the blog post I am writing or plan to write. It doesn’t always work, but it helps.
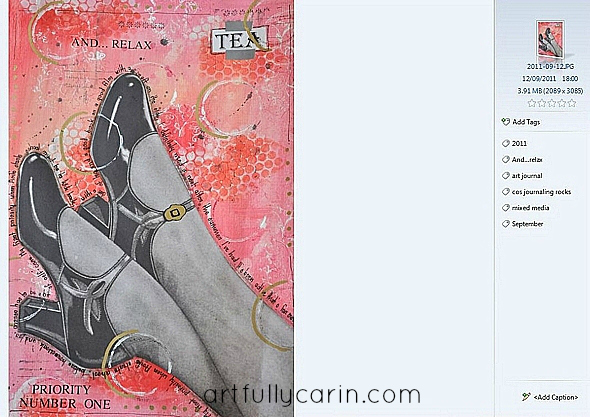
Tag photos
Tagging helps you find the pictures you need later on. If you’ve done it well, you can search hundreds of images and only find the ones that you want. When tagging ask yourself “If I need this photo in 6 months, what would I search for?”
Back up
It’s a pain, but it’s important. I try to always have two or more back up systems. Right now I use an external hard drive and my photo printing service. I upload all my pictures to the service, even the ones I don’t plan to print. I keep one folder per year, plus one each for the creative and home projects, and just dump the new photos on top of the old ones. Since they’re all dated, they stay in order.
You can also use cloud storage that runs in the background of your computer while you work. I’m going to invest in that next.
Have a printing schedule
When I back up to the printing service, I get the option to order the ones I’ve just uploaded. I upload and print once a month. I want to enjoy the pictures while I can. Doing it once a month keeps it manageable and cheap. Another bonus is that the photos usually come in an envelope that can be dated until you have time to deal with them.
Final thoughts:
You may have noticed above that I prefer organising photos chronologically. There are a few reasons for that.
- First off, it makes them a lot easier to organise. You don’t have to worry about overlap (pictures fitting into more than one folder).
- Secondly, it saves time. You know what you have to do, and can launch into it straight away.
- Thirdly, you can see progress at a glance. It lets you see how your style is changing (even when you think it isn’t), as well as how you’re getting on with a particular project.
The only folder I treat differently is the blog one since it requires a lot of extra attention.
Tagging photos using words and sentences that mean something to you may seem a bit tedious, but is actually time well spent. I search my tags all the time, especially when I work on my sketching childhood drawings.
Lastly, organising photos doesn’t require a fancy editing program, the examples here were all done using the program that came with my computer, but it does take a little time to get used to.
What do you do? I’d love to hear your photo organising tips in the comments.

You have no idea how much this post has helped me begin what feels like an impossible task of organizing and storing and displaying photos. Especially “start where you are”. That’s going to be tough for me because it feels messy, but it’s so much better than starting at 2006 when Dillon was born! That’s how much I have to do.
I love the folder ideas and am bookmarking this post for reference!
Excellent Angie! I’m so glad this was helpful to you! And yes, starting where you are really is a lifesaver. I think I’d be far too overwhelmed otherwise
I am terrible at organising photos! They get uploaded in bulk into monthly folders if lucky, and I haven’t had any printed since the very beginning of. 2012… Shocking!! I need to try and spend more time keeping on top of them all!
I was like that Amanda, but have caught up now. It can be done! You can do it! x
You’re way too on top of things, lol! BRILLIANT Mama – I would have never thought to tag photos, but what you say makes so much sense. Your kids will have so many wonderful memories to reflect on when they are reminded of them by all their pictures! I need to get on top of that 😉 xoxo
Lol. Seriously Kristin, tagging is a lifesaver. It’d come in really handy for you with all the art and home-schooling stuff too. xoxo
Hi Mama! Thank you for your sweet comment about the cover! It really means a lot. Give my love to the kids! xoxo
🙂
This is a fab post, Carin. This is a task that hovers in the back of my mind constantly – and I just can’t face tackling it as it seems so huge. I used to save by year and month like you, but fell off the wagon with my second baby (now have a third too!) so “start where you are” is certainly great advice. Very inspirational, thank you.